DIY Messenger Bag : Adjustable Straps
Not just adjustable but detachable and with a quick release function as well ! The quick release function is very convenient when riding a bike. With one pull, you can get the bag snuggly fitted onto you back. When you reach you destination, you just lift the tab and tug the straps back to your normal carrying length. It’s just cool !
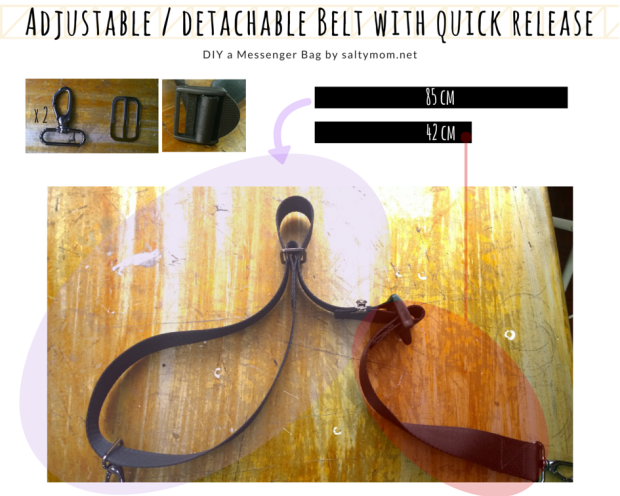
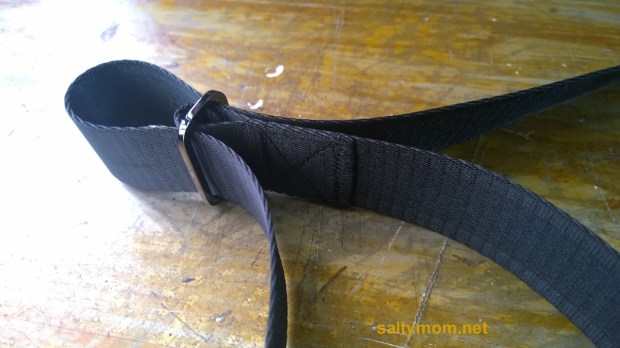
Overview, the strap looks like this. I use safety belt strap for this DIY, but I find regular cotton or cotton-poly blend seems to slide more smoothly. Safety belt can be a bit slippery and dense, however it wins on the posh look it created.
The straps are made up of 2 sections. Below is the adjustable part of the strap.
Step 3 , some close-ups :
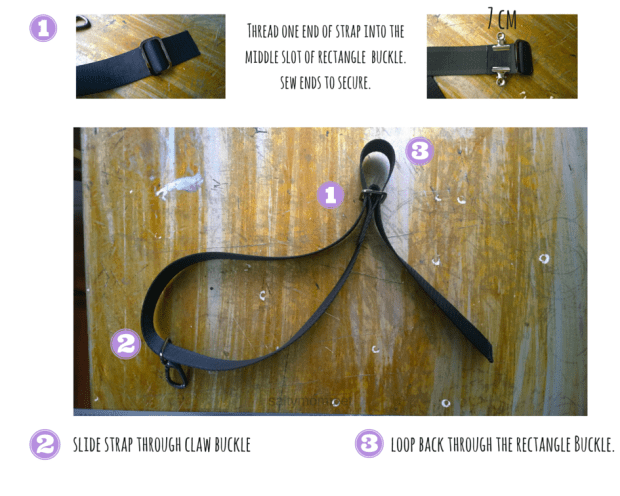
The quick release section of the strap :
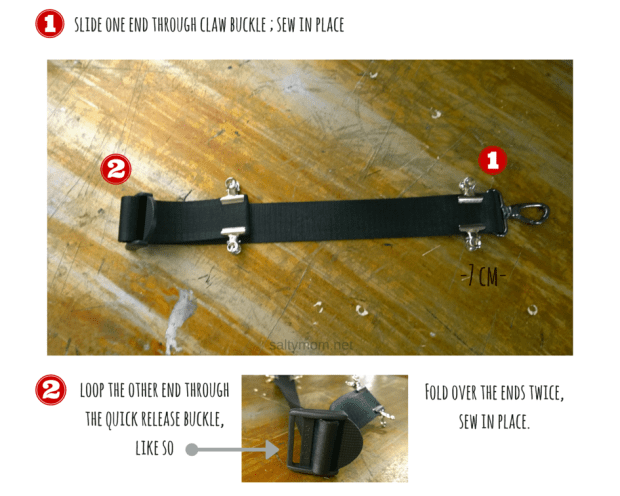
Another view on how the strap goes in the quick release buckle :
The ends where the clips are ? That is where you pull to shorten or release the buckle. Make sure the ends are folded over or sew bias tape over it so it doesn’t slip through the buckle. The remaining slot is where the other piece goes in, from under :

Go over and downwards on the section that is next to the other section of the strap. Fold and sew in place ( where the red star is ). The folded ends are about 7 cm . I melt all the raw edges with a lighter to prevent it from fraying.

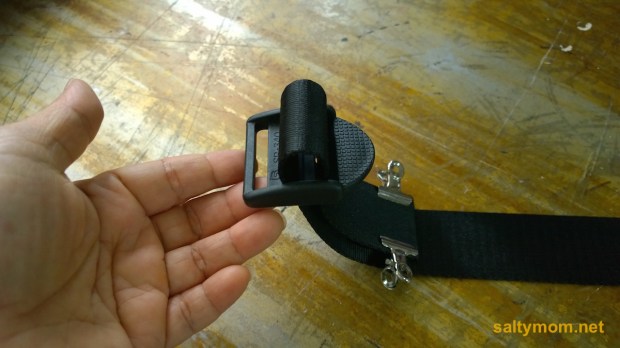
Another view :

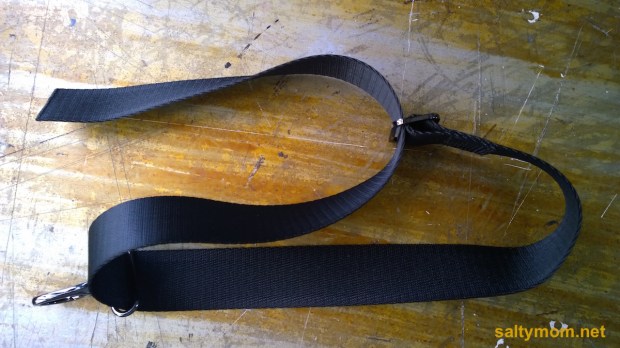
The completed strap : 
Hope you like this tutorial !