DIY a Crochet Squares Blocking Station ( with YouTube Instructions )
I did a batch blocking of a jar of mini granny squares I’ve been hooking up in coffee shops, while waiting for food, whenever i felt like it. What can I say, it’s fun to be old school anti-social sometimes ? I didn’t want to poke a thousand holes into my ironing board, so I thought it was better to go vertical to save some space. The first try, I use a piece of thick styrofoam, but it couldn’t hold the tension. The pizza box was perfect since there are two layers of cardboard to hold the skewers in place and also we get to eat pizza and I don’t have to cook.
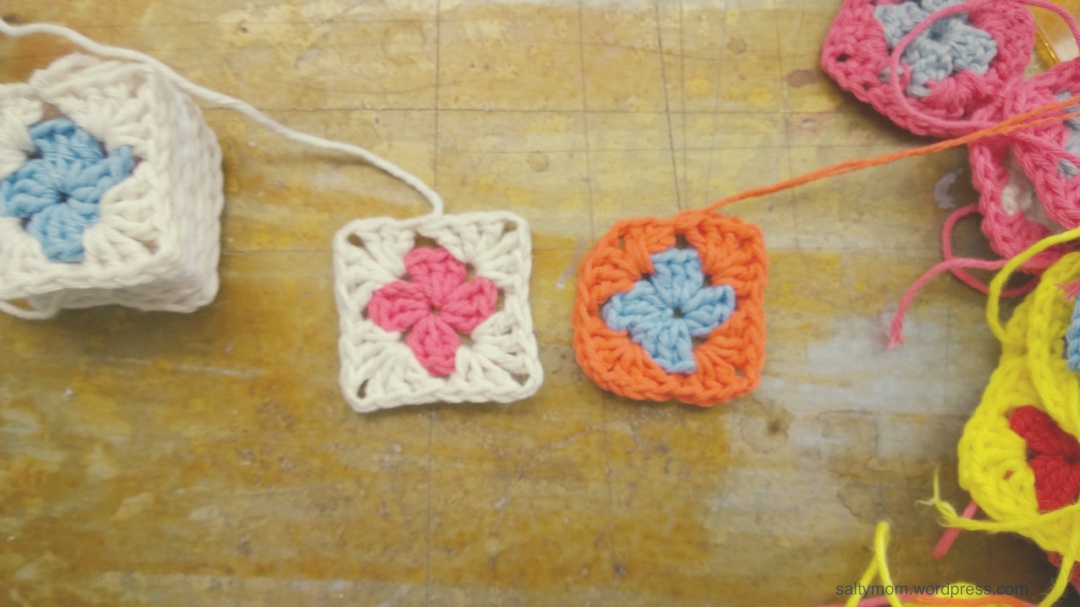
If you are not quite sure what I’m babbling about, blocking is stretching out a crochet piece and wetting it so that when it’s dried, it’ll look like what you are suppose to be making. Like in the picture below :
What I did was measure out a square ( my granny squares should be 4 cm on each side ), and poked skewers through the 4 corners. Poke it till the bottom of the skewer penetrate the bottom of the pizza box. All this writing about poking and penetrating and hooking is making me uncomfortable. I have a picture of the pizza box with the skewers in it :
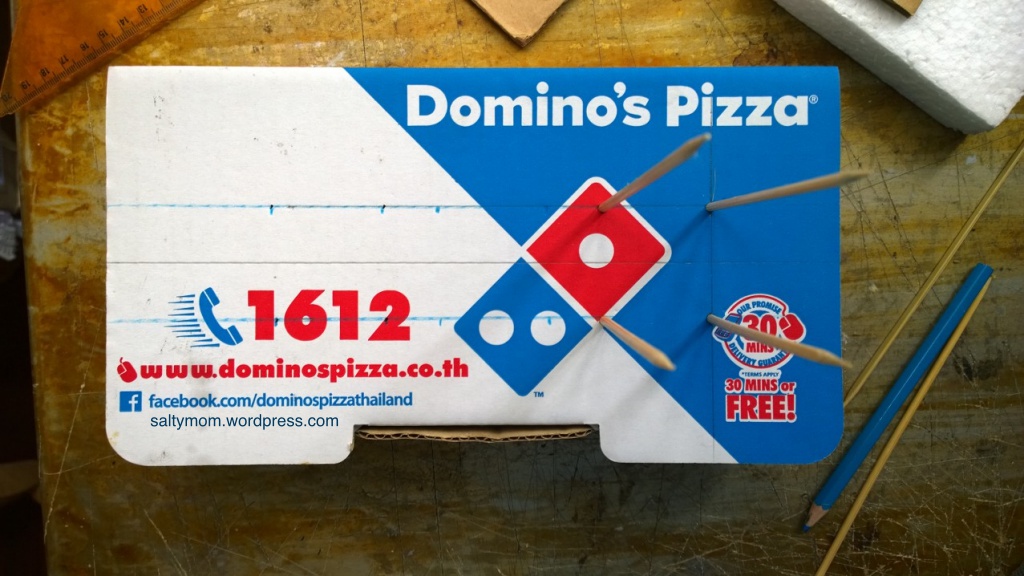
Not sexy at all. Next up, thread the granny squares corners onto the skewers. After a couple of them are on the sticks, the top will start bending towards the centre. That’s okay, just cut out a small piece of sturdy cardboard with the same holes, pre-poked, and lock the skewers into place. I made a photo collage just for you …
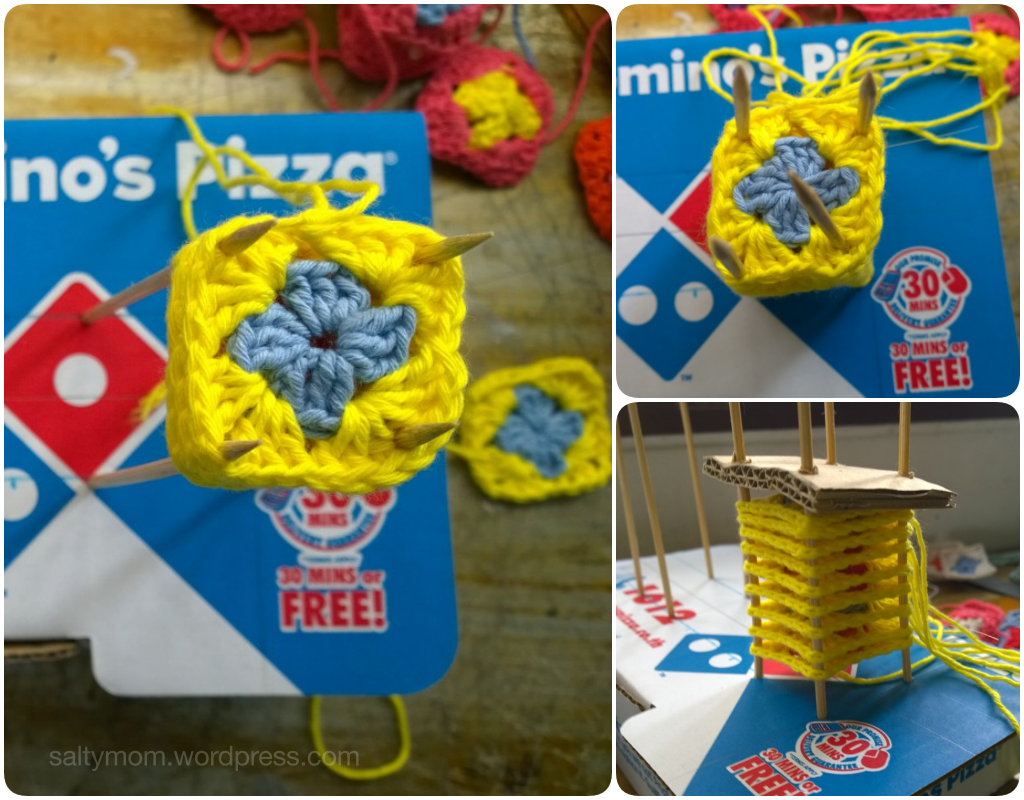 I added more squares on top to test its patience…

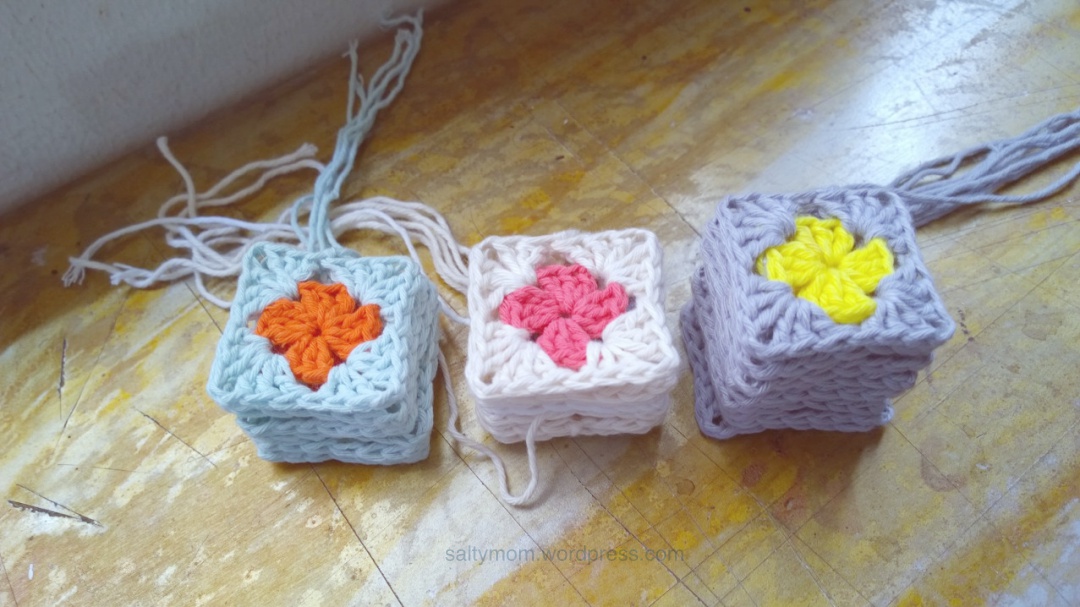
Oh, don’t forget to spritz it with water, till they are all saturated. Then leave them overnight till they dry. You will have a stack of perfect squares …
I’ve also made a YouTube of the whole process.


What a great idea! I always have to get rid of the boxes after eating though – I don’t like the smell lingering. I’ll have to think of an alternative to the pizza box, but the skewers are a fab idea 🙂
Thanks ! Any sturdy cardboard box will do !
Love it – clever!
thanks !
Pingback: DIY : The Crochet Food Cover that Turned into a Wooden Frame. | Salty*mom
Clever and inexpensive!
thank you Veronica !