DIY : Draw Your Own Design Pouch
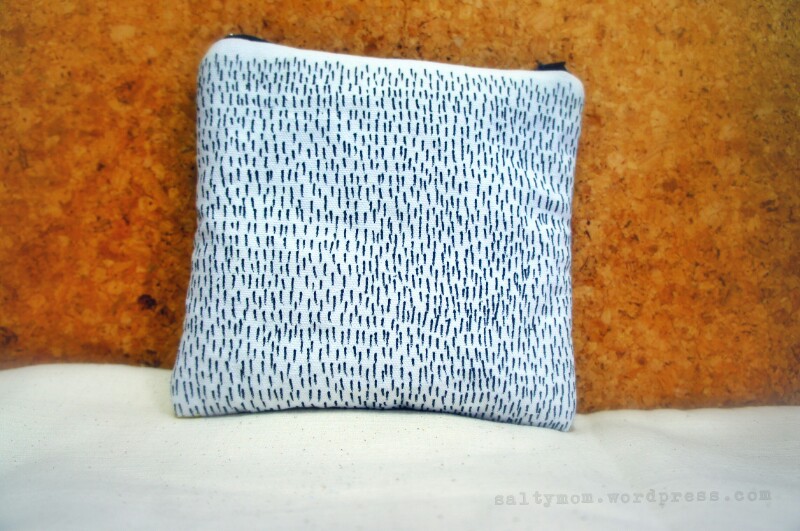
This side of the pouch was done with black permanent markers from Faber-Castell. This is the easiest doodle of all, just write ‘1’ all over until you fill up the whole side. The ink ran a bit but it goes with the rainy season theme here in Thailand.
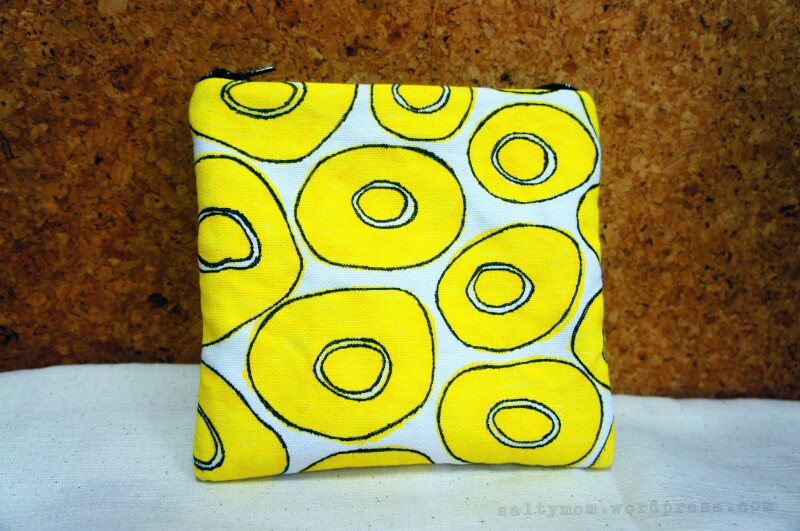
The yellow on the other side was done with a Sharpie, love the intense color. I guess I doodled this because I had a sunny-side up for breakfast. I like to spread egg yolk like jam on bread but that day, there was no bread. I threw the whole thing in my mouth and the flavor was so intense my brain exploded. The last thing I remember seeing was yellow.
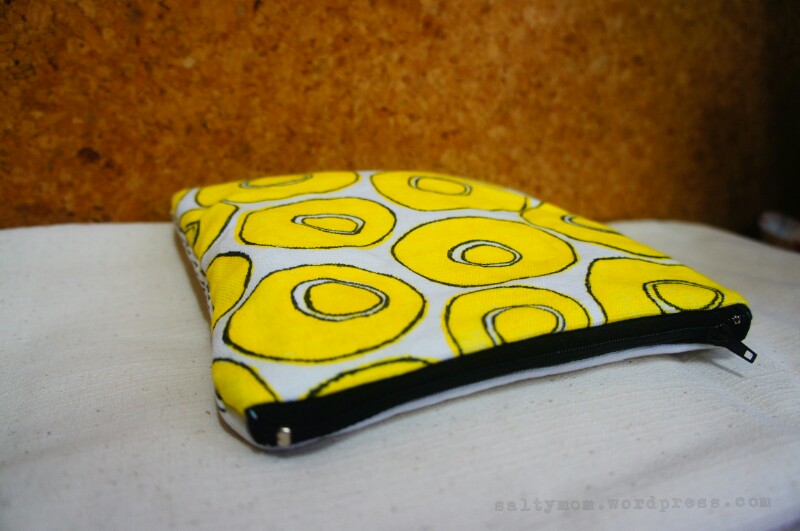
The zipper corners didn’t turn that neatly, tho… I should have bias-binded the zipper ends. There’s this very neat step-by-step clutch tutorial by Elizabeth from ecabonline that will show you how to do that.
I use the zipper’s length as a guide to how wide the bag will be. The outer fabric is white canvas and it’s lined with a spongy laptop sleeve kind of fabric.


Very cool!
Super nice!