How to sew a tote bag
I thought I’ll show the steps to make the tote bag in my last post … in miniature size.
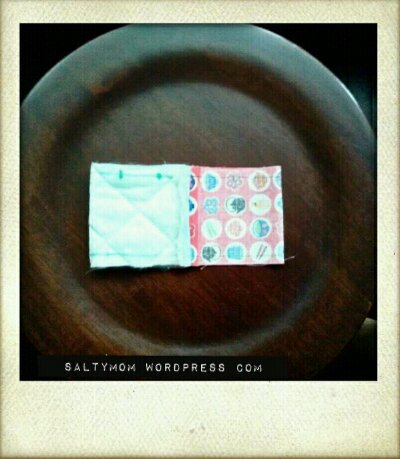
1. This will be the outside fabric and the inner bag fabric. Place them with the pretty side facing each other.
*The length of the fabric will be the desired length of your tote bag plus 2 inches. I like longer seams for the opening so that when I sew them in step 6, the bag’s opening will be padded. *The width of the fabric will be the desired width of your tote bag plus 1 inch (1/2 inch on both sides for the seams). *If you want inner pockets , now’s the time to add them.
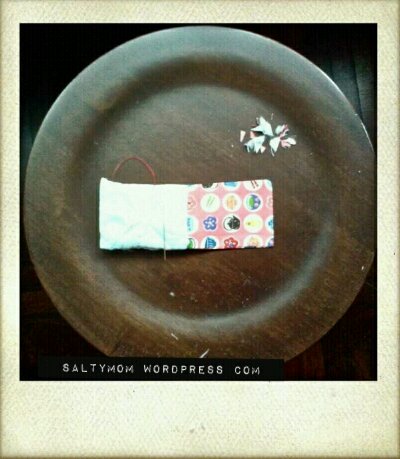
2. Sew the short sides together. This will be the bag’s opening.

3. Pull out the middle so the seams are now on top of each other , but right in the center. It will be a good idea to iron down the seams for tidiness.
4. Sew along the sides, leaving a gap on the inside fabric. This is for turning out our bag inside out, so all the seams are hidden inside the bag. Trim off corners , also the corners on the seams to lessen the bulkiness.

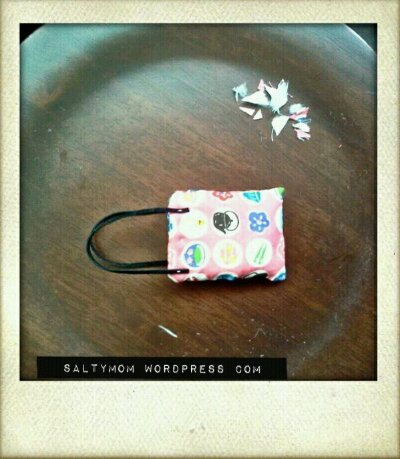
5. Flip the bag inside out through the gap. You can sew the gap close or add magnetic snaps first.
6. Push the inside portion of the bag into the outside portion. Iron, then sew around the bag’s opening. Then add the straps. I hammered in grommets to hold the leather straps in place for the tote bag in my last post.
Couldn’t find the girls’ cloth dolls, so Chef will be the designated model of the day. Look, he’s making his mouth all “oh” , “oh” because he have to carry such a sweet lady’s bag.