DIY a Photo Canvas Wall
There have been a lot of photo canvas walls popping up in pinterest, so I thought I’ll show you mine. I use this tutorial as a guide ; I like the distressed edge look on them.

These are 20cm x 20 cm canvas that were scored in a Buy-1-Get-1-Free promotion. This is a good size to use if you plan to print them at home since A4 paper are 21 cm wide.
The photos were edited in browser-based photo editors. Besides PicMonkey.com, there’s also Pixlr.com ( express ) that comes with editing and effects tools. Pixlr.com is a bit more tricky to navigate, but it does have more effects.
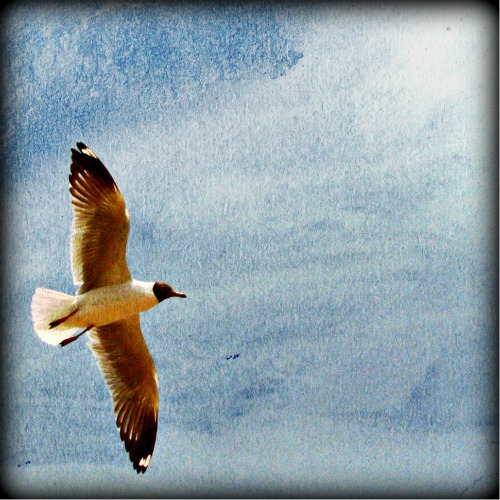
The photos need not be all people, anything that looks interesting can do. Here my photo of a seagull hovering mid-air…

… becomes this :


Weird looking tree ( After ) :
 When you are editing the photos, crop them into squares. For uniformity, I added lomo-ish dark edges on all the photos. I printed them out a tad bigger than the canvas.
I painted the edges of the canvas like so, overflowing at the edges and more on the corners.

After the paint dried, I sprayed glue on the back of the photos and stuck them on top. Then I sliced off any protruding edges with a cutter. It will look kind of jagged.

Next, rub sand paper on the edges so they’ll fuse with the canvas. The fun part is distressing the photo with sand paper.

To stick them on the wall, I use 3M gummy tacks ( the black ones worked better than the white ones. )


Pingback: DIY a Distressed Wall Art | salty*mom